
As a Ambassador for Island Batik we were asked to make a mini for our March project. It didn't matter what as long as it was no larger that 24x24. Looking at all the pretties they had sent me in this box I kept getting all kinds of ideas, but I finally settled on one and went for it on Sunday. Yes I completed it start to finish all in one day!!!

I will tease you with a few steps of my process before showing you the finished Mini. If you have never used Island Batik's before you really need to give them a try. Wowie, they are so pretty and what a wonderful feel to them. They are wonderful to applique with, there are no ravels going on at the edges so no need to use a fusible or turn them under. I chose to use 4 pieces from their Stash Builder rolls they sent me, plus a background pastel aqua from their Lavish collection for this project.

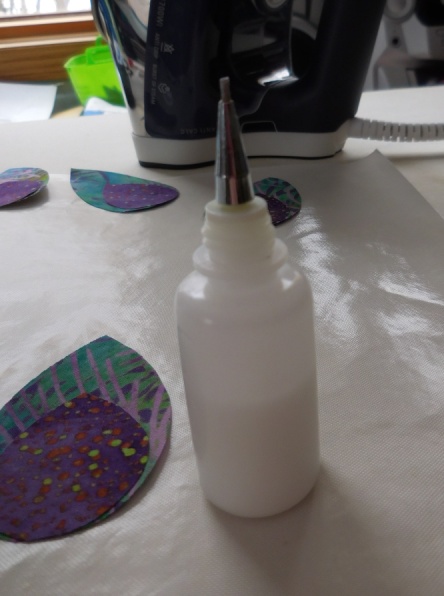 So as you see, I began by cutting my pieces, layering the centers together and tacked them together using a little Elmers washable school glue and heating them just a bit with the iron. See this little bottle, I found a pack of 3 at Hobby Lobby in the art department. They came with these little metal tips...super awesome!! Just add a bit of Elmers glue and you are set. Next I laid my flowers, stems, and leaves on my background and using my Frixion pen, put in some registration marks so that I could quilt right up to the appliques.
And let the fun of quilting begin!! I had just finished Christina Cameli's Wild Quilting Craftsy class this past week and I was feeling majorily inspired!! After all my longarm years of quilting I still felt very uneasy at combining designs on the 'fly'. When I saw Christina was doing a class on it I didn't hesitate at all, she is a great instructor and made me feel like I could jump right in and do it. So why not!! Yes I did this on my longarm using 2 layers of Airtex batting-they were samples from a quilt show so I do not know what content they are, but guessing 80/20. I wanted to leave the area under the applique unquilted so it would poof out the flowers, leaves and stems once I appliqued them down.


Ok I'll stop teasing you ;-) Here's the finished Mini weighing in at 13.5" square. I used Suzie's Magic Binding technique. See the penny-thought you might want to see the size of the quilting in comparison!

This picture actually shows you a bit of the dimension achieved by using 2 batts and quilting the background first leaving the area behind the applique unquilted, then doing the actual applique. I had so much fun doing my first project, thank you Island Batik for trusting in my to be one of the Ambassadors for 2016!!!


The pattern came from Jan/Feb. '10 Quiltmaker magazine. Here is what it was supposed to look like...

Linking up with several of the fun parties this week, you will find the links all on the left side bar.
